I love curtains and but I hate buying curtain rods! I feel like my choices are so limited, they are always more expensive that I want them to be. (I am totally cheap when it comes to home decor – I’m always thinking, ‘I could probably come up with a way to do it for less’) This brilliant idea was actually my mom’s suggestion – I’m all about giving credit where credit is due! Thanks mom! I already had the curtains and I really wanted to keep this area light, airy and a little whimsical.
Heres how you can get the look.
You’ll need
:: curtains – easiest if they have loops or very large grommets
:: fairly straight branches – one per window plus about 5 or 6 extra inches for hanging
:: gardening lopers (google says that’s what they’re called – you know, the giant cutters?)
:: sand paper
:: saw
:: screwdriver and screws 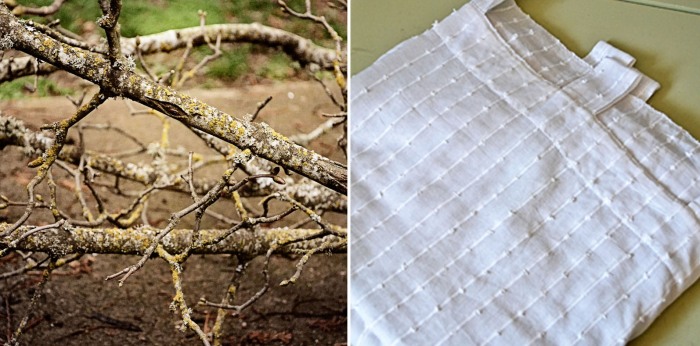 Start by selecting your branches (you want them to be as straight as possible and to run the length of your window with a little extra on each side) and trim all the tiny twigs so you can slide the curtain on later. Lightly sand the trimmed branch – I liked the look of all the green moss but because these are in our kitchen I didn’t want mossy bits to be falling all over the place. Next, cut a small two small pieces off a branch you’re not using and screw into wall as a mounting mechanism. Loop curtains onto your branch before you hang them.
 Finally, screw branch into the pieces you just mounted. Step back and enjoy your practically free and very creative new curtains!
 This is currently my favorite place in the house! So bright and pretty. Every time I look at it I smile. It’s where I usually read and blog and where the little one and I eat breakfast.
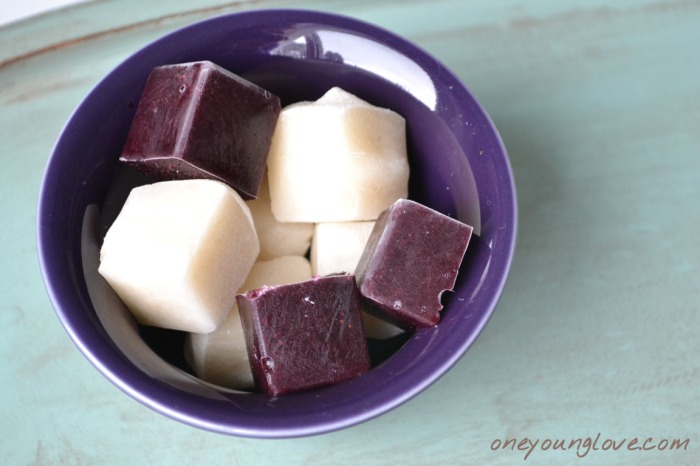 Doesn’t her breakfast look delicious this morning? I sacrificed the last of our frozen blueberry stash form the summer for the babe. I thought her diet needed a little color. Lucky little one.


