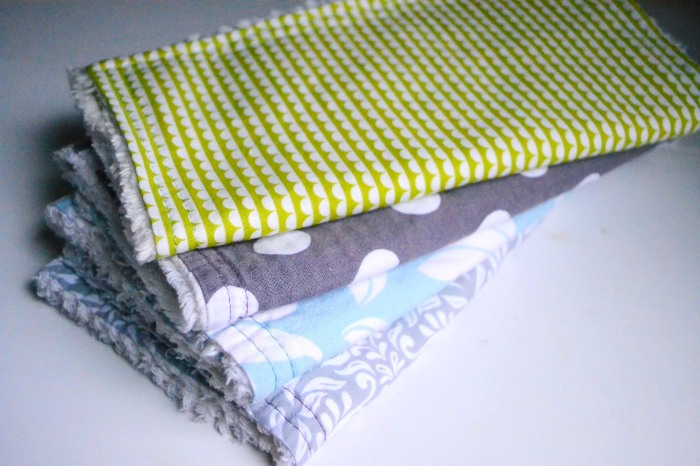
When I was pregnant I started seeing these burp cloths everywhere. People were selling them in stores and online but I could never find ones that quite fit my box of ‘girly without being obviously girly’. So I decided to make my own. They quickly became my favorite gift to give. So simple, so inexpensive and so easy to personalize the fabric choices for whoever you’re giving them to.
I would not recommend making these while wearing dark colors. Whether you’re using an old towel or this chenille, this is a very messy project.
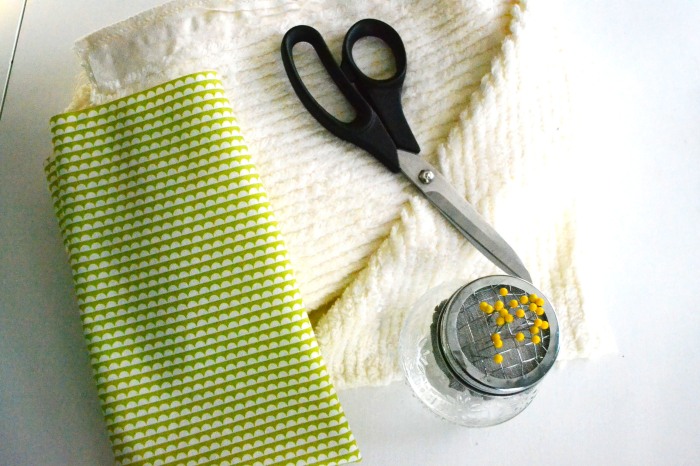
Here’s what you’ll need:
:: scissors
:: sewing pins
:: thread & sewing machine
:: iron
:: fabric of your choice
:: chenille or an old towel
(The first time I did this project I used a towel and prefer the way they turn out with the chenille but it will work with either.) I would also recommend keeping a lint roller handy – the chenille gets everywhere when you cut it!
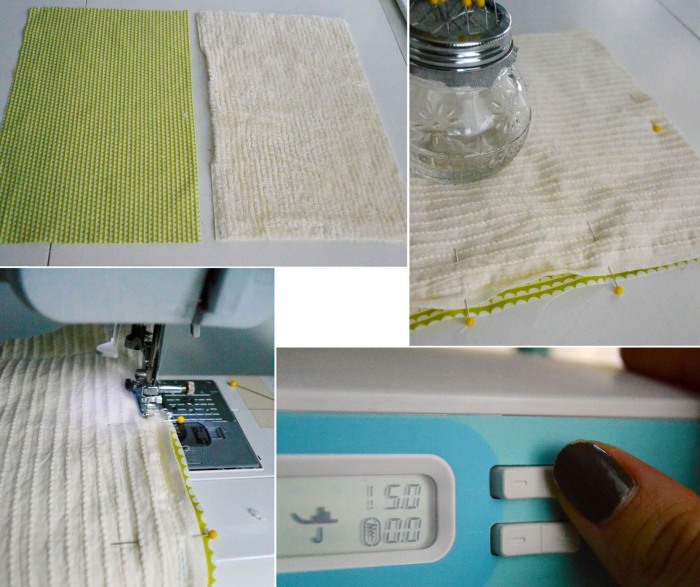
1. cut both your fabric and chenille to the same size – I use 10″ x 16″ but you can make them whatever size you like
2. pin the fabric and chenille right sides together indicate with two parallel pins where you will begin and end sewing, leaving about a 2 1/2″ opening
3. change your stitch length to the longest setting (the fabric shifts too much if you skip this part) and begin stitching, back stitch at both the beginning and end. after you have sewn the two sides together change the stitch length back to a medium length.
4. trim corners and edges to about 1/4″ (I often forget this part but it really does make the finished project look much better)
5. turn cloth right-side-out
6. iron cloth folding the opening in to match the rest
7. top stitch around entire cloth – this will stitch your opening closed – because its hard to make your initial stitch perfectly straight I line the foot of my sewing machine up to the outside of the cloth and follow it around the perimeter. (rather than trying to sew a perfectly straight line on a not perfectly straight cloth)
8. top stitch one more line – I make this stitch in between my last stitch and the outside edge and use my first line as a guide (I find that if I have two crooked lines that match each other they appear much straighter than they are)
9. iron the final product and you’re done
A stack of three or four makes a wonderful gift for an expecting mother. But if you have a little one at home you might want to make extras, sometimes they are hard to part with!


I make some almost identical to this! Except mine are sloppier! 😎
Just finally bought some chenille today, so I will probably whip a few up tomorrow……or maybe tonight after the kids go to sleep.
i love your blog, i have it in my rss reader and always like new things coming up from it.
Pingback: 40 in 50 | designbylulu – paper | baby | home
Pingback: tiny bow ties for tiny gentlemen – tutorial | one young love
Pingback: 40 in 50: Baby Blanket + Burp Cloth = Baby Cloth? | designbylulu – paper | baby | home
Pingback: Burp Cloths | Jessica Melear
Pingback: baby month | one young love